I'm Caitlin - culinary hostess, wellness retreat curator, and homebody at heart. This blog is where I share seasonal recipes, intentional living tips, and behind-the-scenes moments from my kitchen, travels, and retreats.
Here to make healthy living feel thoughtful and approachable - one recipe, ritual, or gathering at a time.
WELCOME!
Affiliate links included. Thanks for supporting the brands I trust!
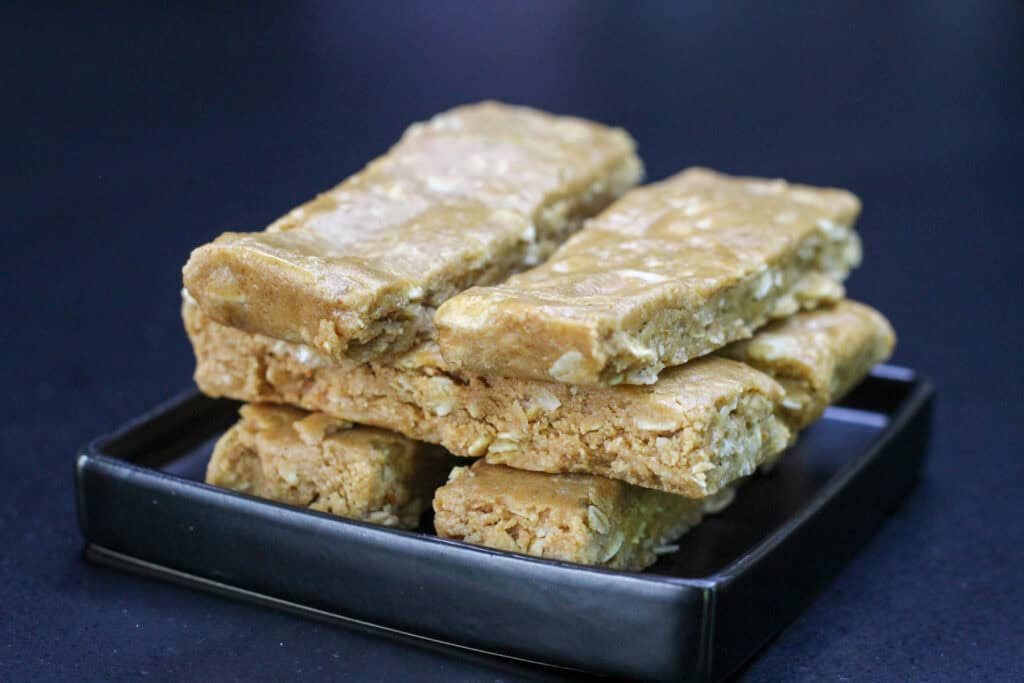
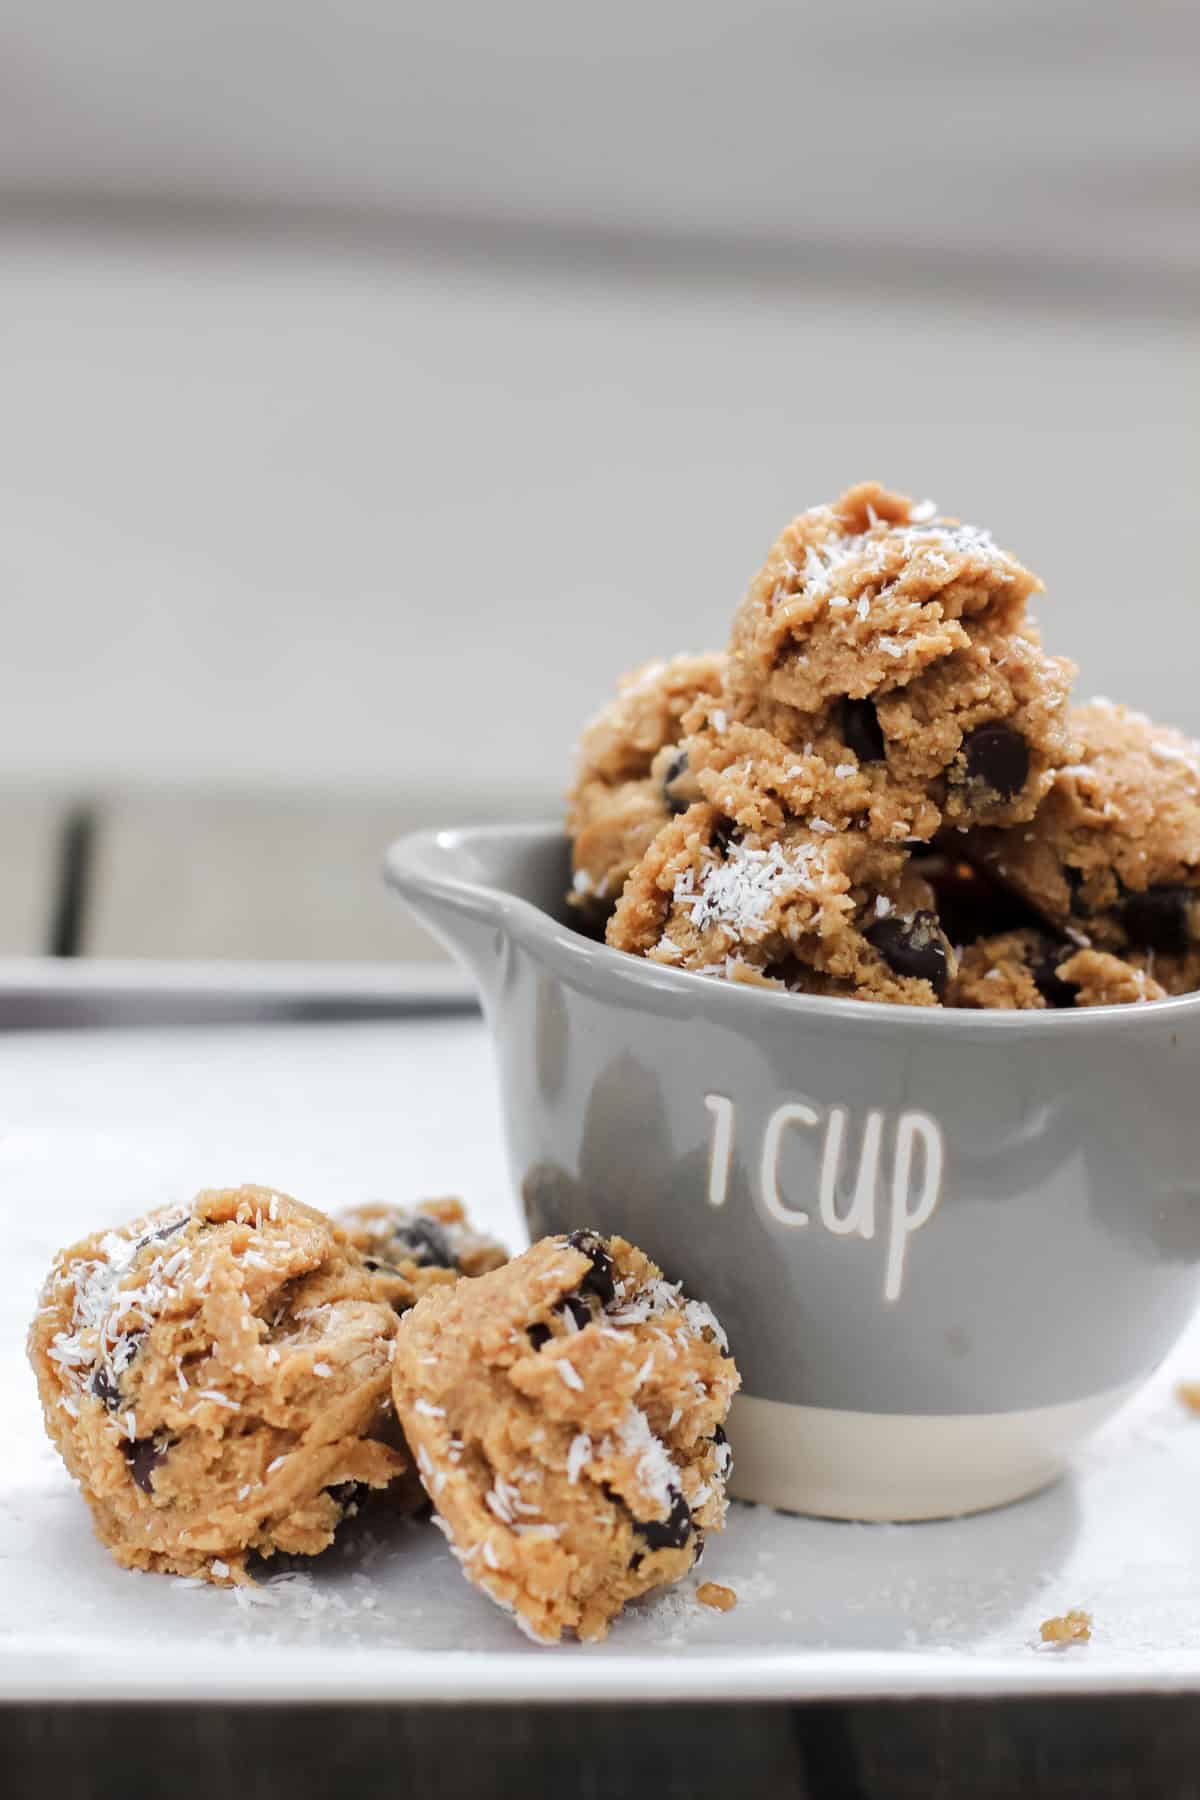
Looking for a homemade snack that’s easy to make, packed with protein, and actually tastes good? These No-Bake Peanut Butter Protein Bars come together in minutes with simple pantry ingredients and are perfect for busy mornings, afternoon snacks, post-workout recovery, or keeping in the refrigerator for the week ahead.
There are certain recipes that quietly earn a permanent place in your kitchen, and these peanut butter protein bars are one of them.
They’re simple enough to make on a busy weeknight, require no baking, and are made with ingredients you likely already have on hand. Unlike many store-bought protein bars, they’re soft, chewy, lightly sweetened, and free from unnecessary fillers and additional ingredients.
I love keeping a batch in the refrigerator for quick snacks, especially during busy weeks when I need something nourishing and convenient. Whether you’re heading out the door, fueling after a workout, or simply looking for a healthier afternoon pick-me-up, these bars are a recipe you’ll find yourself making again and again.
WHAT TO EXPECT IN THIS POST
Why You’ll Love These Peanut Butter Protein Bars
Ingredients
Equipment
Step-By-Step Instructions
Expert Tips for Success
Storage Instructions
Frequently Asked Questions
Hosting Tip
Other Recipes You’ll Love
Recipe Card
WHY YOU’LL LOVE THIS RECIPE
No baking required
Naturally gluten-free
Made with simple pantry staples
Easy to customize
Great for meal prep
Portable and travel-friendly
Freezer-friendly
Kid and adult approved
INGREDIENTS
Peanut Butter : Natural creamy peanut butter provides flavor, healthy fats, and helps bind the bars together.
Honey : Honey adds natural sweetness while helping create the chewy texture.
Vanilla Extract : A small amount enhances the overall flavor.
Rolled Oats : Use certified gluten-free oats if needed. Oats provide structure and make the bars more satisfying.
Prepare the Pan. Line an 8×8-inch baking dish or loaf pan with parchment paper.
Warm the Peanut Butter and Honey. In a microwave-safe bowl (or in a saucepan on the stovetop), gently warm the peanut butter and honey. You want it to be smooth and fully combined when you stir.
Add the Vanilla. Mix in the vanilla extract.
Add the Dry Ingredients. Add the rolled oats, protein powder, and sea salt. Stir until a thick dough forms.
Adjust the Consistency. Add water one tablespoon at a time until the mixture easily holds together when pressed between your fingers. You may not need any!
Add Chocolate Chips (Optional). Fold in chocolate chips if using.
Press Into Pan. Transfer the mixture to the prepared pan. Press firmly into an even layer.
Chill. Refrigerate for at least one hour.
Slice and Serve. Cut into 12 bars and enjoy.
EXPERT TIPS FOR SUCCESS
Use natural peanut butter that has been stirred well. The only two ingredients should be peanuts and salt.
Press the mixture firmly into the pan to prevent crumbling.
Chill completely before slicing.
For clean cuts, use a sharp knife wiped clean between slices.
Store bars cold for the best texture.
Want to increase the protein? You can add an extra scoop of protein powder and a little additional water as needed, or simply cut the bars into larger portions. Keep in mind that any changes to the recipe or serving size will affect the nutrition information listed in the recipe card.
STORAGE INSTRUCTIONS
Refrigerator. Store in an airtight container for up to 1 week.
Freezer. Freeze in a sealed container for up to 3 months. Place parchment paper between bars to prevent sticking. Allow bars to thaw for a few minutes before serving.
FREQUENTLY ASKED QUESTIONS
Can I make these protein bars dairy-free?
Yes. Simply use a dairy-free protein powder and dairy-free chocolate chips if adding them.
Can I use a different nut butter?
Absolutely. Almond butter or cashew butter work well; however, swapping this ingredient will change the taste.
Can I make these without protein powder?
The texture will change significantly. Protein powder helps create structure and provides the protein boost these bars are created to provide.
Why are my bars crumbly?
The mixture likely needs additional water or wasn’t pressed firmly enough into the pan.
Are these good for meal prep?
Yes. They are one of my favorite make-ahead snacks because they store beautifully in both the refrigerator and freezer.
Can I increase the protein?
Yes. You can add an extra scoop of protein powder and a little additional water as needed, or simply cut the bars into larger portions. Keep in mind that any changes to the recipe or serving size with affect the nutrition information listed in the recipe card.
HOSTING TIP
When hosting houseguests or a weekend gathering, I like to keep a container of homemade protein bars in the refrigerator. They’re perfect alongside morning coffee, tucked into a snack basket before going on a hike, or offered as a nourishing grab-and-go option before guests head home.
These No-Bake Peanut Butter Protein Bars are a simple gluten-free snack made with pantry staples and protein powder. Soft, chewy, and easy to prepare, they’re perfect for meal prep, post-workout fuel, or a grab-and-go snack throughout the week.
Want to increase the protein? You can add an extra scoop of protein powder and a little additional water as needed, or simply cut the bars into larger portions. Keep in mind that any changes to the recipe or serving size will affect the nutrition information listed in the recipe card.
Certified gluten-free oats recommended if needed.
Add water gradually as protein powders absorb moisture differently.
Optional chocolate chips add extra sweetness and texture.
Store chilled for best results.
Nutrition information is an estimate and will vary based on exact ingredients and portion size.
Prep Time:10 minutes
Chill Time:60 minutes
Category:Snack
Method:No-Bake
Cuisine:American
Nutrition
Serving Size:1 bar
Calories:185
Sugar:8 g
Fat:11 g
Carbohydrates:14 g
Fiber:2 g
Protein:10 g
Caitlin Lindsey
post author
Caitlin is the creative visionary behind Fit to Entertain, where food, wellness, and intentional living come together. She's passionate about helping others bring joy to the table and live beautifully - one meal at a time.


+ Show / Hide Comments
Share to: