I'm Caitlin - culinary hostess, wellness retreat curator, and homebody at heart. This blog is where I share seasonal recipes, intentional living tips, and behind-the-scenes moments from my kitchen, travels, and retreats.
Here to make healthy living feel thoughtful and approachable - one recipe, ritual, or gathering at a time.
WELCOME!
Affiliate links included. Thanks for supporting the brands I trust!
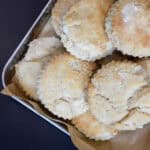
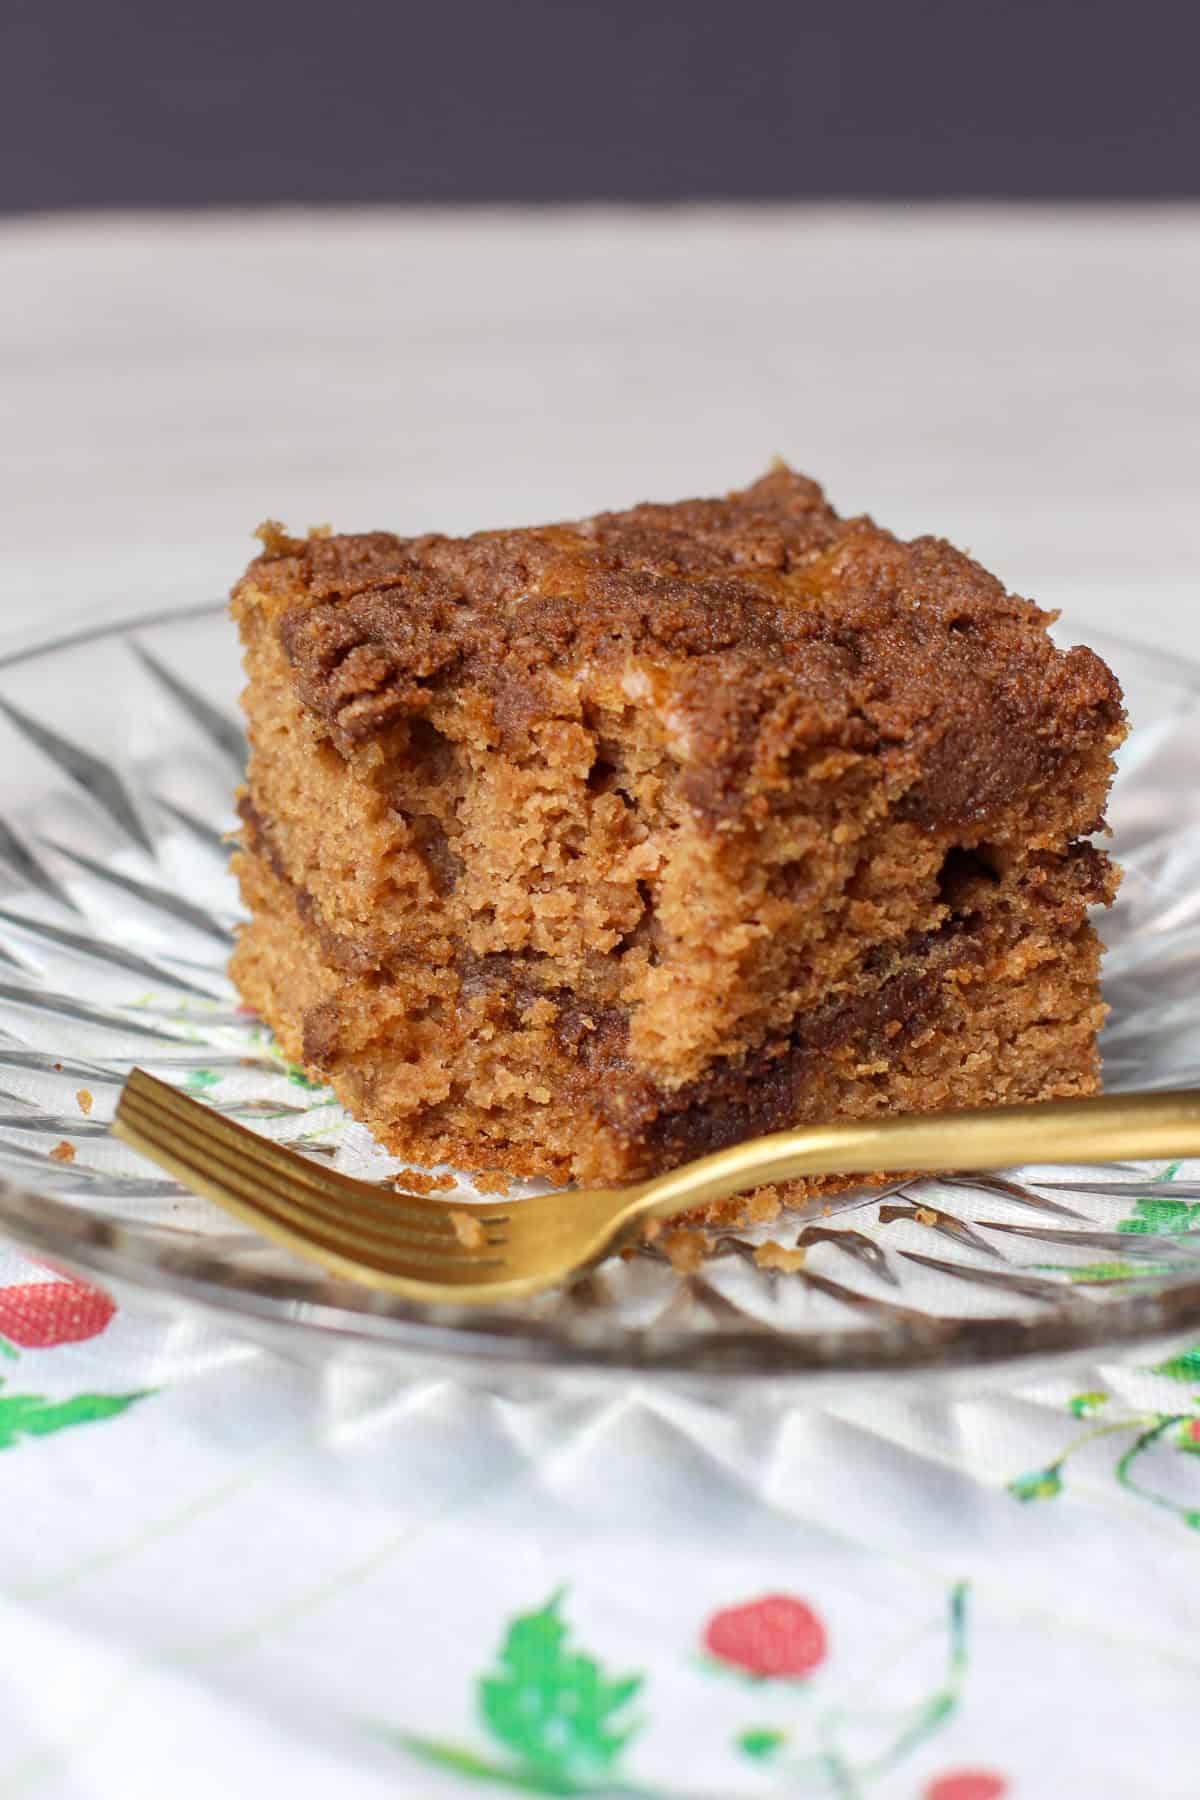
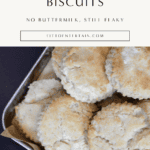
Flaky layers, golden edges, and a tender center – these gluten-free biscuits are proof that you don’t need buttermilk (or complicated steps) to get bakery-worthy results at home. This recipe is designed for ease, flexibility, and confidence, especially if gluten-free baking has felt hit-or-miss-in the past.
Biscuits should feel comforting, unfussy, and reliable – especially when you’re cooking for yourself or people you care about. These gluten-free biscuits were created for real-life kitchens : no specialty dairy, no hard-to-find ingredients, and no sacrificing texture or flavor.
Whether you’re serving them with breakfast, adding them to a cozy dinner, or building a beautiful brunch spread this is a go-to recipe you can return to again and again.
WHAT TO EXPECT IN THIS POST
Why You’ll Love This Recipe
Ingredients
Equipment
Step-By-Step Instructions
Helpful Tips for Success
Make-Ahead & Storage Tips
Frequently Asked Questions
Hosting Tips
Other Recipes You’ll Love
Recipe Card
WHY YOU’LL LOVE THIS RECIPE
No buttermilk required
Flaky and tender
Beginner-friendly
Works for sweet or savory meals
INGREDIENTS
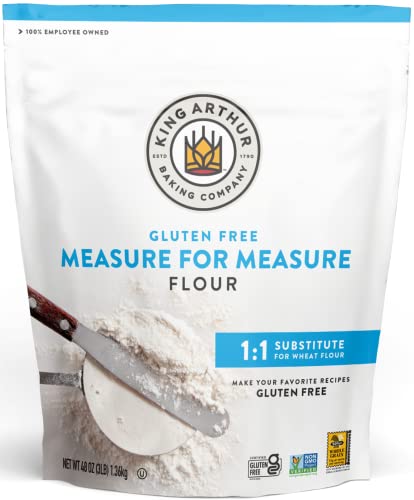
Gluten-free all-purpose flour (with xanthan gum)
Baking powder
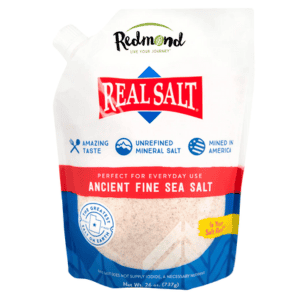
Fine sea salt
Granulated sugar (optional, for balance and browning)
Cold butter
Whole milk or unsweetened non-dairy milk
Optional : apple cider vinegar or lemon juice (needed for dairy-free milk)
Preheat the oven to 425℉ and line a baking sheet with parchment paper.
Whisk the dry ingredients in a large bowl until evenly combined.
Cut in the cold butter cubes until the mixture resembles coarse crumbs with pea-sized pieces throughout.
Add the milk (and vinegar if using), stirring gently just until a shaggy dough forms.
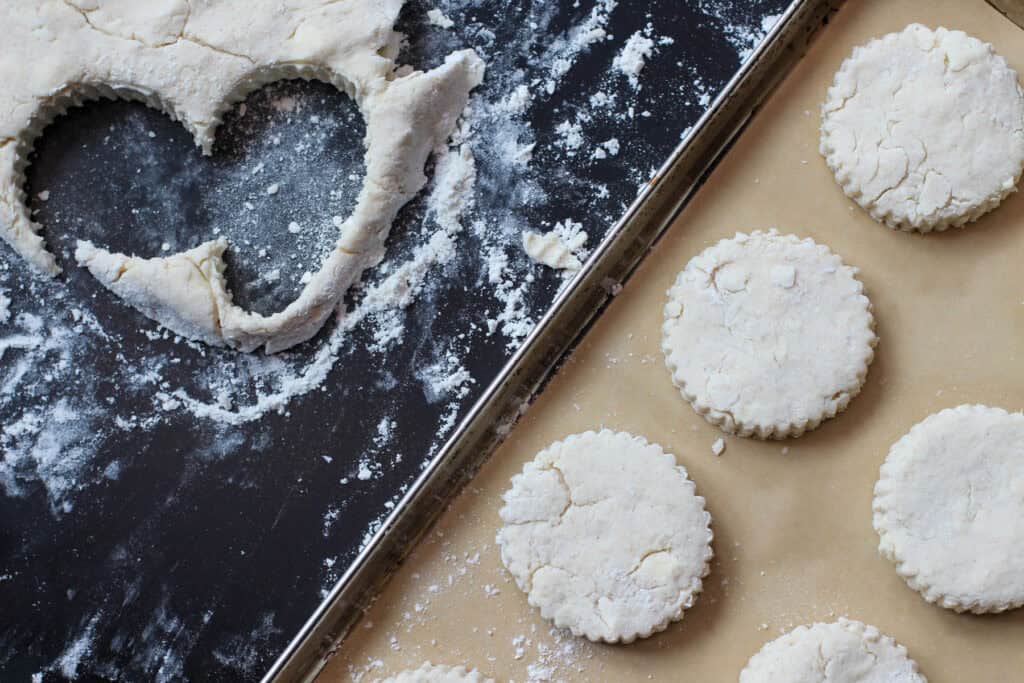
Lightly flour your surface and pat the dough into a 1-inch thick rectangle or circle.
Cut biscuits straight down using a knife or cutter – avoid twisting to help them rise evenly.
Bake for 14 – 16 minutes, or until the tops are lightly golden and the biscuits feel set.
HELPFUL TIPS FOR SUCCESS
Cold butter is essential for flaky laters – if it softens, pop the bowl in the fridge for 5 minutes.
Gluten-free dough should feel slightly tacky but not wet; add milk slowly if needed.
A hot oven helps create lift, so don’t reduce the temperature.
MAKE-AHEAD & STORAGE TIPS
Store baked biscuits in an airtight container at room temperature for up to 2 days.
Freeze unbaked cut biscuits and bake straight from frozen, adding 2 – 3 minutes to the bake time.
Reheat gently in a warm oven to restore texture.
FREQUENTLY ASKED QUESTIONS
Can I make these dairy-free?
Yes – use plant-based butter and unsweetened dairy-free milk.
Why didn’t my biscuits rise?
Check that your baking powder is fresh and that you cut the biscuits straight down.
What gluten-free flour works best?
A 1:1 gluten-free all-purpose flour with xanthan gum yields the most consistent results.
Can I make these ahead for hosting?
Absolutely. Freeze unbaked biscuits and bake fresh just before serving.
HOSTING TIPS
The simplest way to make guests feel welcome is to serve something warm. Bake these biscuits just before arrival and present them in a linen-lined basket or on a low wooden board. Add a small dish of honey butter or seasonal jam and let the table speak for itself – uncomplicated, generous, and inviting.
Caitlin is the creative visionary behind Fit to Entertain, where food, wellness, and intentional living come together. She's passionate about helping others bring joy to the table and live beautifully - one meal at a time.


 Buy Now →
 Buy Now →


+ Show / Hide Comments
Share to: