I'm Caitlin - culinary hostess, wellness retreat curator, and homebody at heart. This blog is where I share seasonal recipes, intentional living tips, and behind-the-scenes moments from my kitchen, travels, and retreats.
Here to make healthy living feel thoughtful and approachable - one recipe, ritual, or gathering at a time.
WELCOME!
Affiliate links included. Thanks for supporting the brands I trust!
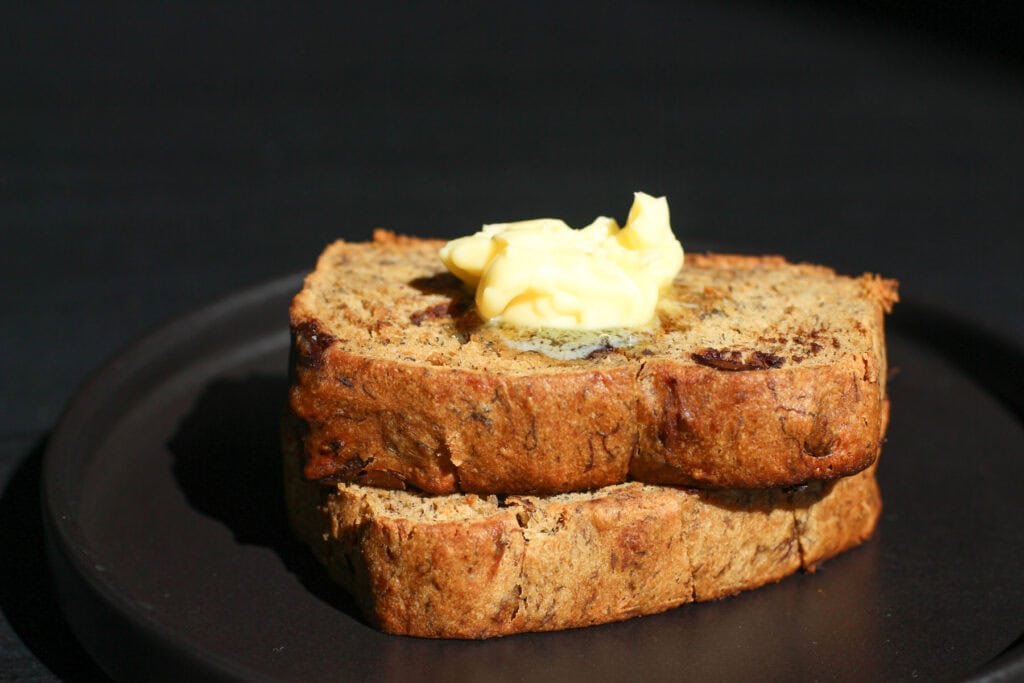
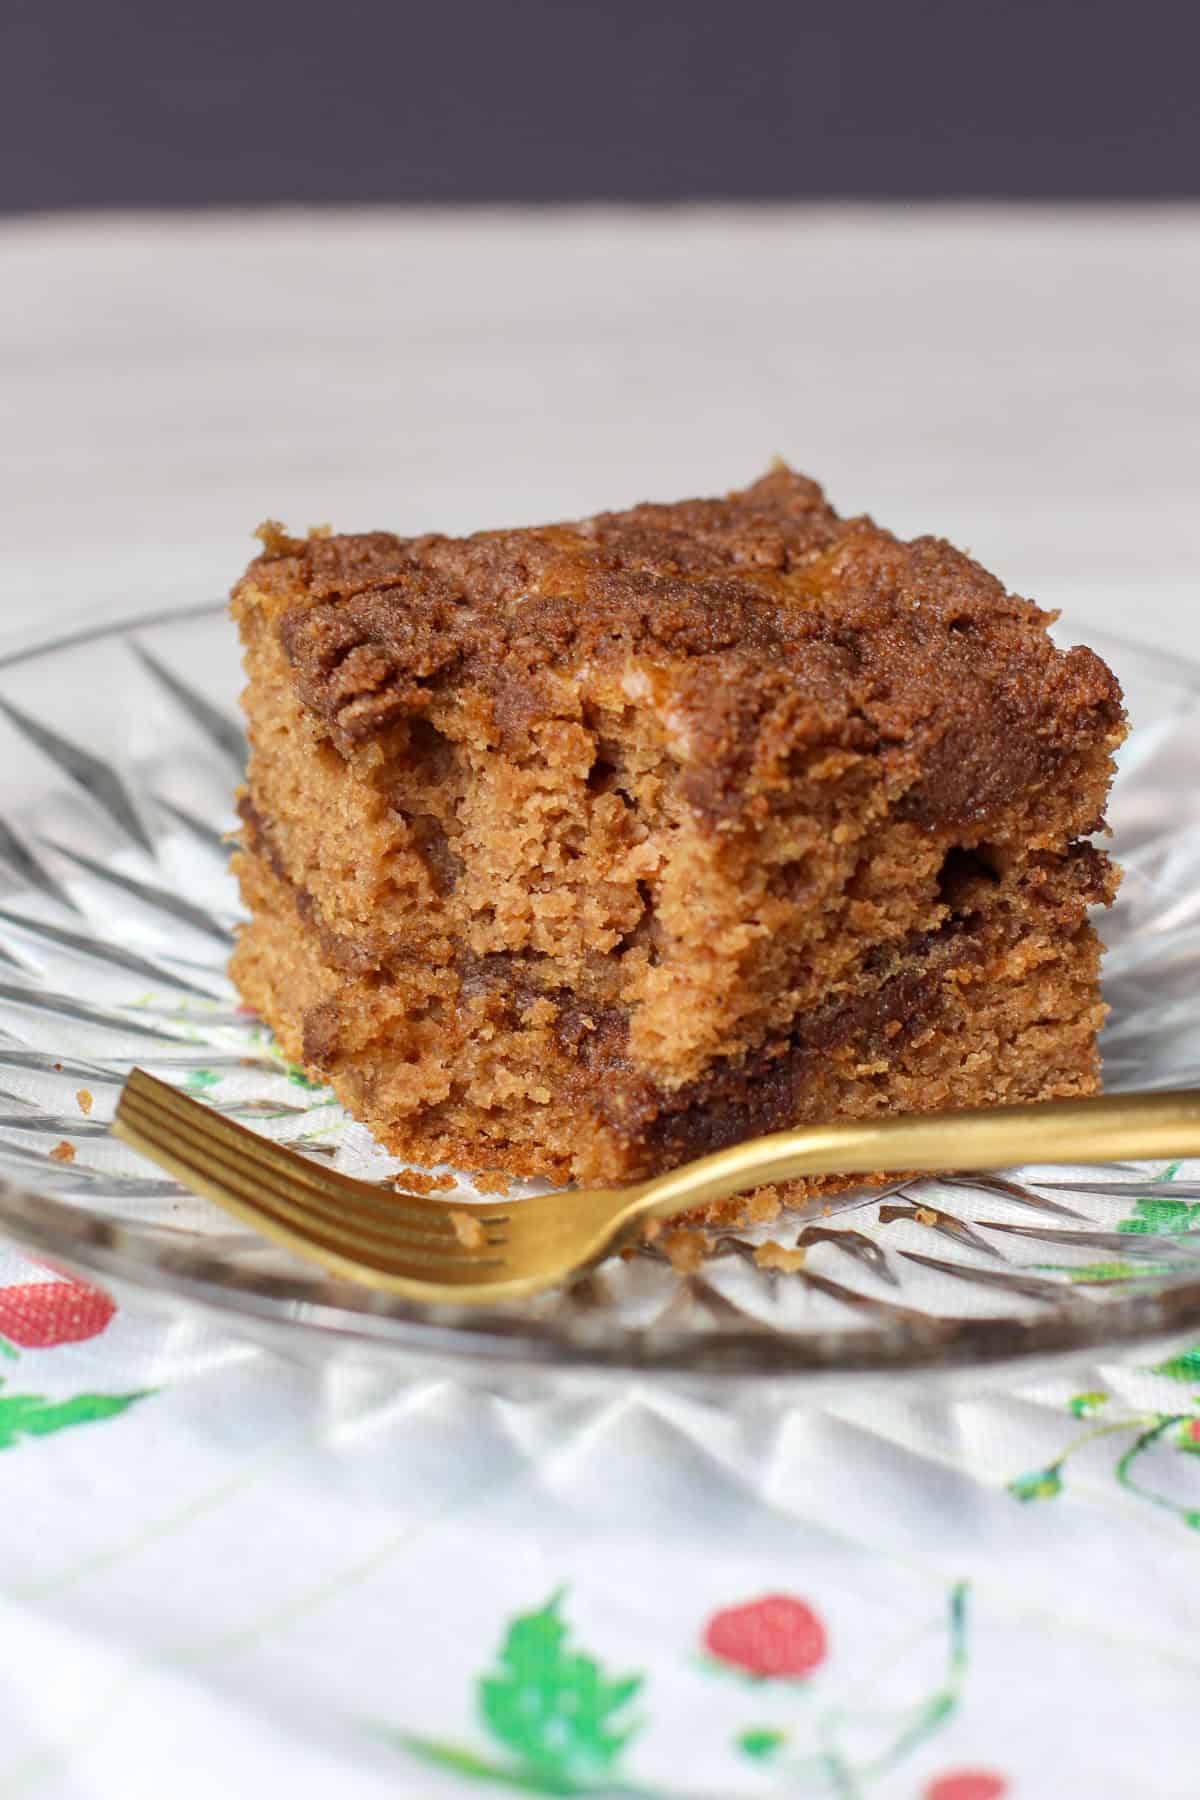
A cozy classic that never goes out of style. This homemade chocolate chip banana bread is everything I want in a loaf. Moist, flavorful, and just the right amount of sweet from overripe bananas and melty chocolate in every bite. It’s the kind of recipe you keep coming back to, whether you’re making it for a quiet weekend morning or as a thoughtful housewarming gift for a new neighbor who moved down the street. Simple ingredients, flexible options, and just the right touch of comfort, from my kitchen to yours.
There’s something about homemade banana bread that just feels like home. This version is soft, full of flavor, and perfectly sweet. I love how easily it comes together with pantry staples and how customizable it is. Gluten-free, dairy-free, and with a touch of decadence with the addition of chocolate chips.
Whether you’re slicing it up for breakfast, toasting it with butter for a midday treat, or sneaking a slice in before bed, this banana bread will be a repeat recipe in your home!
INGREDIENTS YOU’LL NEED
Wet Ingredients
4 ripe bananas, mashed (about 1 1/4 – 1 1/2 cups)
1/2 cup melted high quality butter (sub with dairy-free butter or coconut oil)
Preheat oven to 350°F and grease or line a standard 9×5 loaf pan.
Combine wet ingredients : In a large bowl, add mashed banana, melted butter, brown sugar, eggs, and vanilla extract. Combine until smooth using a hand mixer. Start on a low speed, and gradually increase until everything is smooth.
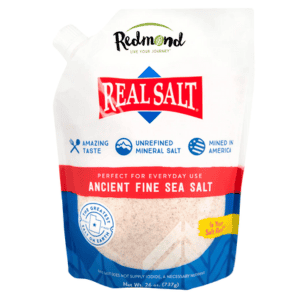
Add dry ingredients : Add flour, baking soda, salt, and cinnamon. Starting on a low speed, combine with the hand mixer until you have a smooth batter. Do not overmix.
Fold in chocolate chips : Gently fold in 1/2 cup chocolate chips.
Bake : Pour the batter into the prepared loaf pan and smooth the top. Bake for 50 – 60 minutes, or until a toothpick inserted in the center comes out clean or with moist crumbs.
Cool : Let the loaf cool in the pan for 10 – 15 minutes before transferring to a wire rack to cool completely.
TIPS FOR BEST RESULTS
Use bananas that are very ripe (lots of brown spots!) for maximum sweetness and moisture.
Don’t overmix the batter. Mix until no dry streaks remain.
For a crunch, sprinkle turbinado sugar or chopped nuts on top before baking.
STORAGE & FREEZING TIPS
Counter : Store tightly wrapped at room temp for 2 – 3 days.
Fridge : Keeps well for up to 1 week.
Freezer : Slice or freeze whole for up to 2 months. Toast from frozen or let thaw at room temp.
FREQUENTLY ASKED QUESTIONS
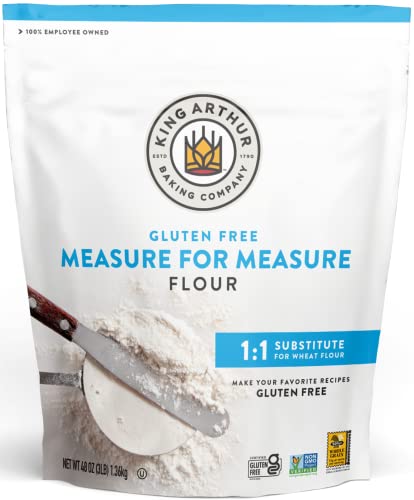
Can I make this gluten-free?
Yes! A 1:1 gluten-free flour blend works beautifully here.
Can I make it dairy-free?
Absolutely. Sub melted coconut oil or dairy-free butter and use dairy-free chocolate chips.
Can I add more mix-ins?
Sure. Just don’t exceed 3/4 cup to keep the loaf balanced.
How do I know when it’s done?
The top should be golden brown and a toothpick inserted in the center should come out clean or with moist crumbs – no wet batter.
This is one of those recipes that feels like a staple in every season. Familiar, easy to make, and loved by everyone who tries it. If you bake a loaf, I’d love to see it! Tag me on Instagram or leave a comment below. Enjoy!
Preheat oven to 350°F and grease or line a standard 9×5 loaf pan.
Combine wet ingredients : In a large bowl, add mashed banana, melted butter, brown sugar, eggs, and vanilla extract. Combine until smooth using a hand mixer. Start on a low speed, and gradually increase until everything is smooth.
Add dry ingredients : Add flour, baking soda, salt, and cinnamon. Starting on a low speed, combine with the hand mixer until you have a smooth batter. Do not over mix.
Fold in chocolate chips : Gently fold in 1/2 cup chocolate chips.
Bake : Pour the batter into the prepared loaf pan and smooth the top. Bake for 5o – 60 minutes, or until a toothpick inserted in the center comes out clean or with moist crumbs.
Cool : Let the loaf cool in the pan for 10 – 15 minutes before transferring to a wire rack to cool completely.
Caitlin is the creative visionary behind Fit to Entertain, where food, wellness, and intentional living come together. She's passionate about helping others bring joy to the table and live beautifully - one meal at a time.
Great question! Yes, you can absolutely add protein powder to this banana bread to give it an extra protein boost. While I have not done this (yet), this is how I’d recommend adjusting the recipe:
Substitute Protein Powder for Flour: For every cup of flour, try using 1/2 cup of flour and 1/2 cup of protein powder. This will help maintain the texture of the bread while adding that extra protein punch.
Increase Moisture: Protein powder tends to absorb more liquid, so you may need to add an extra tablespoon or two of milk to keep the bread moist.
Sweetness: Depending on the type of protein powder you use, you might want to adjust the sugar.
Baking Time: Keep an eye on the baking time, as the protein powder can sometimes change how long it takes to bake. You might need to adjust it slightly.
Texture: Protein powder can make baked goods a little denser, so if you find the texture too heavy, try adding an extra egg or using a lighter protein powder blend.
I’d suggest starting with these adjustments and seeing how it works for you! Let me know how it turns out if you give it a try!


 Buy Now →
 Buy Now →
  Buy Now →
  Buy Now →


Could this be made with protein powder added in for extra protein?
Great question! Yes, you can absolutely add protein powder to this banana bread to give it an extra protein boost. While I have not done this (yet), this is how I’d recommend adjusting the recipe:
Substitute Protein Powder for Flour: For every cup of flour, try using 1/2 cup of flour and 1/2 cup of protein powder. This will help maintain the texture of the bread while adding that extra protein punch.
Increase Moisture: Protein powder tends to absorb more liquid, so you may need to add an extra tablespoon or two of milk to keep the bread moist.
Sweetness: Depending on the type of protein powder you use, you might want to adjust the sugar.
Baking Time: Keep an eye on the baking time, as the protein powder can sometimes change how long it takes to bake. You might need to adjust it slightly.
Texture: Protein powder can make baked goods a little denser, so if you find the texture too heavy, try adding an extra egg or using a lighter protein powder blend.
I’d suggest starting with these adjustments and seeing how it works for you! Let me know how it turns out if you give it a try!
Thank you!!